


The first method was adapted from Kris' tutorial posted on her One Inch Minis blog. My supplies differed a bit from those she suggested, but they were similar enough that I was able to make the marble happen. I was able to find the brand of glazing medium she suggested, but could not find the PermEnamel Satin Glaze. Instead, I used Golden Acrylic Glazing Medium because it was the only satin finish glaze I could find. In the end, it was really flat so I applied a final coat of satin varnish instead. Also, my charcoal pencils are really charcoal vines. I just broke off a piece to work with, and shaved a point into the end with a razor blade. I practiced a bit to get the feel of the charcoal before starting on the actual countertops. That helped, and I do really like the results.

The next "stone" type finish I tried was faux granite. I watched some YouTube videos on how to do faux granite on real life counters, then just shrunk down the method. I wanted a variety of colors, so I had black, white, grays, tans and glazing medium squirted out on a paper plate. I just dabbed on different colors with the sponge, picking up the glazing medium along with the paint as I went. I did several different layers, letting the paint dry, coating it with glazing medium, letting that dry and repeating until I achieved some depth. I finished it off by sealing with a good coat of Triple Thick. My photos don't do them justice. I am really happy with the effect.

While waiting for layers to dry, I sprayed several coats of gloss white onto the various sinks. I did not have ideal spray painting weather. The garage was so cold - even with the space heater, that the paint was taking forever to dry. So after each coat of paint I would bring the whole pant booth into the house. Gave myself one heck of a migraine with the fumes, but that's the kind of thing that happens when you push to make progress!

I also painted and/or installed hardware to all of the little doors and drawers, painted the vanities themselves (only two of them with spray paint), and added drain pipes and drains to the sinks when they had finally dried.

One of the other countertop experiments was to try for quartz. My first method is taking days to dry and become clear, so I will have a later update on that. Essentially, I was attempting to "float" Diamond Dust into the glaze to create sparkle. My next quartz experiment will involve Triple Thick and white or silver glitter. I'll let you know how that goes, too.


The ones above were the Bespaq pieces. It was fun to try the different finishes, taps and sinks with each one.


The above were made based on one of Sam's inspiration photos.
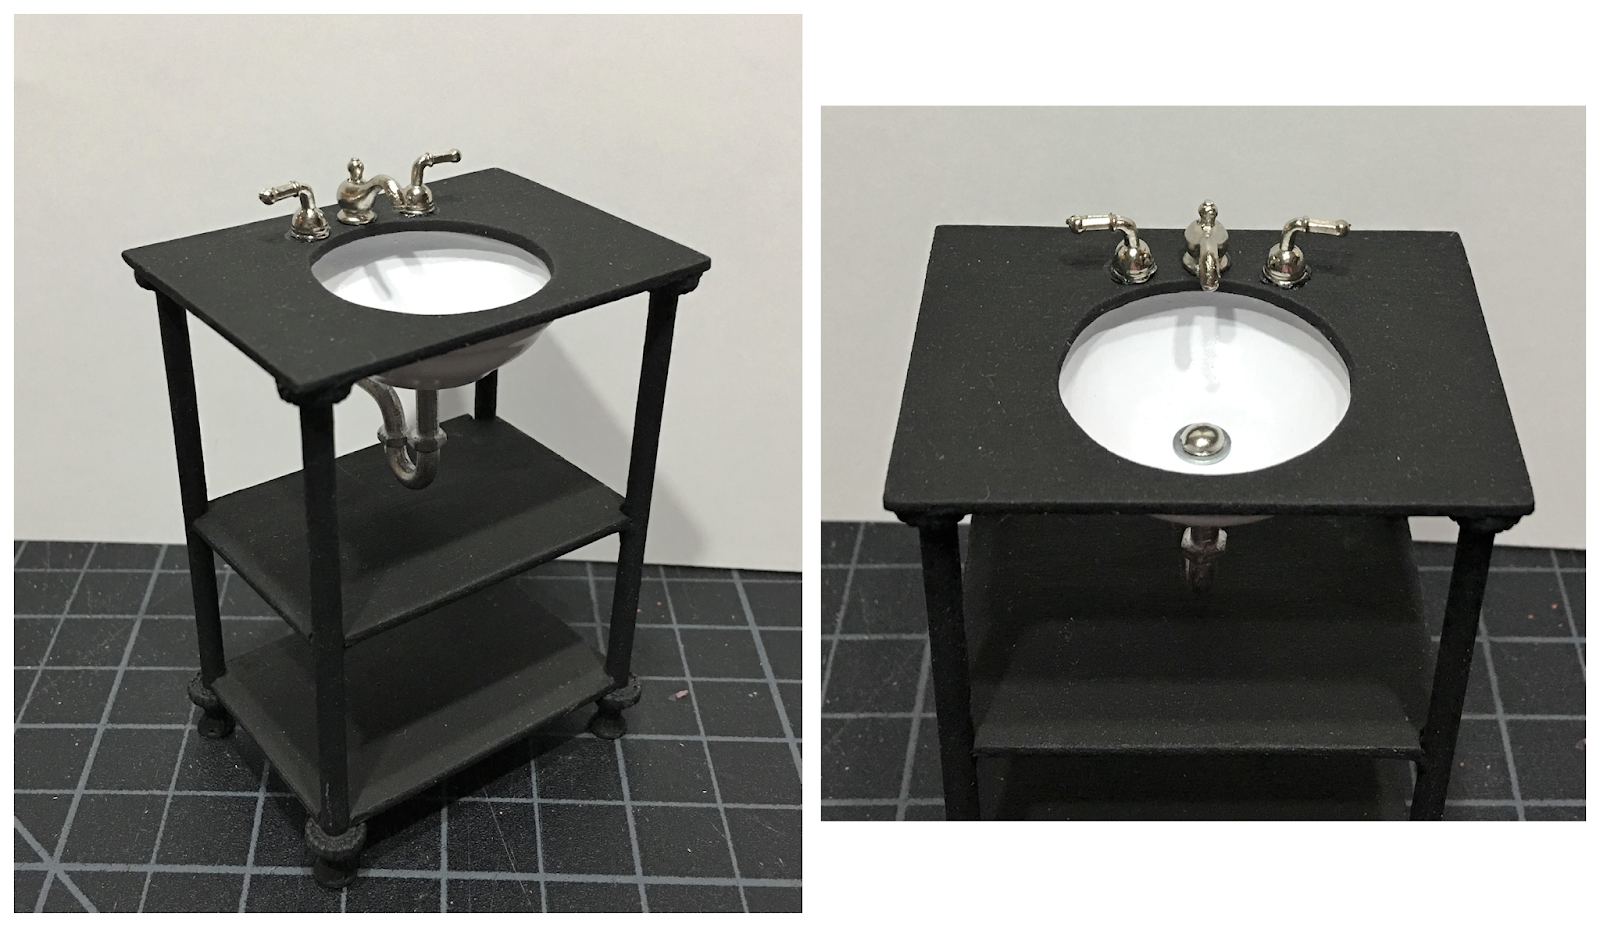
And above is the one Sam chose for her San Franciscan Basement bathroom.

This one is nearly ready to be assembled - just need to decide whether the top should be shiny or satin before adding all the plumbing. What do you think?
I am going to make a mirror, candle, vase with flowers, basket/s, towels and soap pump for each one, so there is still a good deal of work left before I can call this sink adventure complete. I am madly itching to break open a new kit and do something completely cute, so I hope the end comes soon!
I hope you find something inspiring from this journey, and that you make the time to play!
xo xo,
Jodi


0 Yorumlar